
You’ve Googled “does getting a tattoo hurt.” You probably got about fourteen different answers. So you looked at pain charts, watched a few videos, and arrived at some rough understanding that it depends on where, who, and how much. Fair enough.
But that’s actually the smallest version of the question. Because what you’re really wondering — and haven’t quite articulated — is: what is that appointment going to be like? What happens from the moment you walk in to the moment you leave? What will I feel, what will I see, what should I know before I’m already in the middle of it?
That’s the question this guide actually answers.
What to expect at your first tattoo appointment: You’ll meet with your artist, confirm the design, receive a transfer stencil on your skin, approve the placement, and then sit for however long the piece takes. The sensation — sustained, burning, like a scratch with persistence — is manageable for most people once it starts. The anticipation is reliably worse than the reality. Eat beforehand, check the stencil carefully, tell your artist it’s your first time, and bring water.
The Stencil Moment Is More Important Than Most People Realize
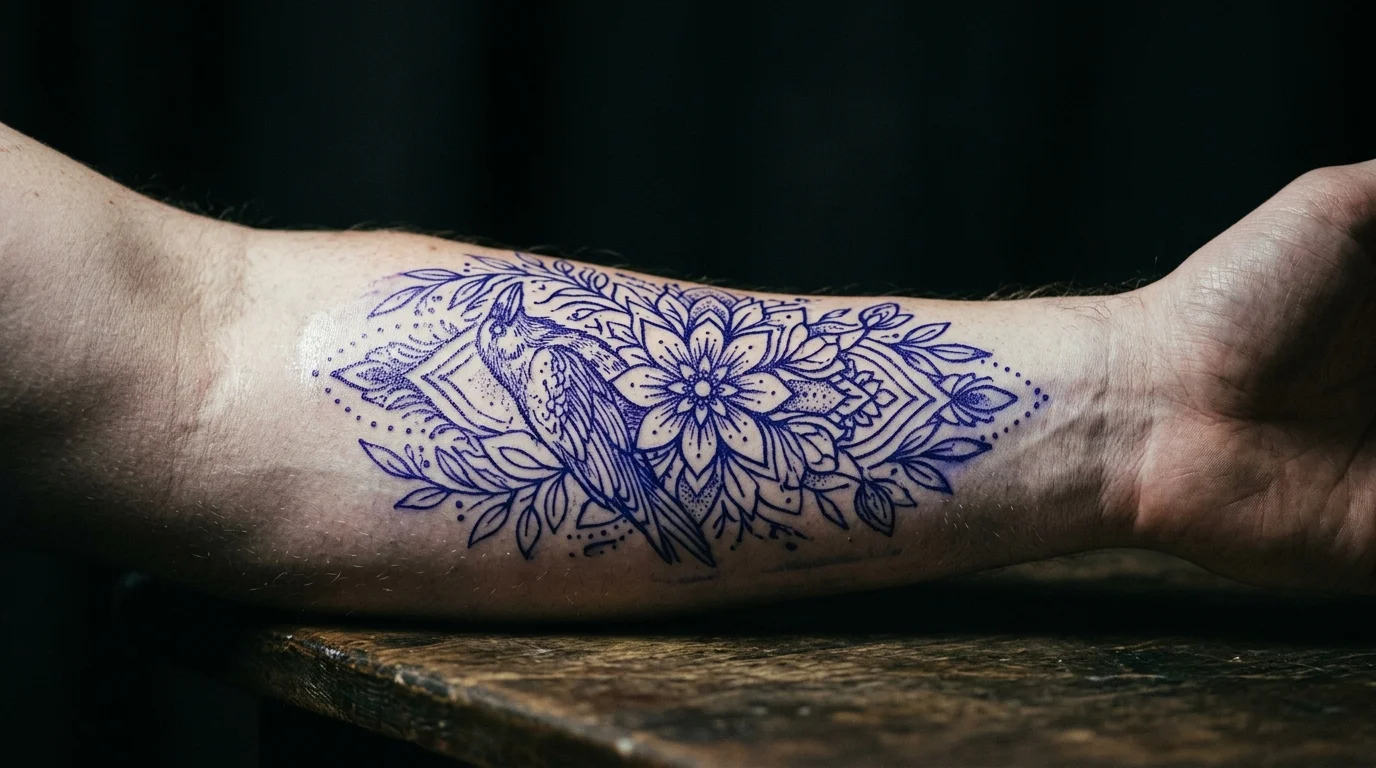
Before the machine ever touches your skin, your artist will apply a transfer stencil — a temporary blue-purple outline of the design — to your placement area. You’ll look in the mirror, and they’ll ask if you’re happy with how it sits.
This moment matters more than almost anything that comes after. Moving a stencil is a two-minute task. Fixing a misplaced tattoo is not.
Most first-timers accept the stencil without really evaluating it — the nerves have reached their peak, the artist is there, the moment feels final. But this is the exact time to take thirty seconds and look at it carefully. Is it centered where you wanted it? Is the size right now that it’s on your actual body? Does the orientation sit correctly?
Ask your artist to shift it if anything is off. Ask again after the adjustment. The stencil is the only moment you control the placement precisely, and a good artist will want you to get this right — they don’t want to tattoo something you’ll wish had been moved half an inch to the left.
While you’re evaluating the stencil: check the design itself one more time. Your artist will have drawn or printed the work. Make sure it matches what you discussed. This isn’t about not trusting your artist — it’s about catching small miscommunications before they become permanent ones. Confirm you’re aligned before you sit down.
What the Sensation Is Actually Like
The short version: it’s a burning scratch. Sustained, present, but not sharp, not jolting, not escalating the way a sudden pain does. Most people find that it’s simultaneously less and more than they expected — less severe than the fear suggested, more persistent than they imagined.
Research examining tattoo pain in over 1,000 participants found that stress levels were a stronger predictor of pain intensity than the tattoo itself — which means the anxiety you bring into the session has a measurable effect on what you feel in it. That’s both humbling and useful: the work you do to manage pre-appointment nerves isn’t just psychological, it affects your physical experience.
The sensation changes across a session. The first few minutes are typically the most acute — your nervous system hasn’t calibrated yet, and the adrenaline response hasn’t fully engaged. Once it kicks in, most people find the sensation becomes easier to process. Not painless, but workable. The body has a relationship with sustained sensation that it doesn’t have with sudden pain.
By placement:
- Outer forearm, bicep, calf, outer shoulder: The recommended starting points for good reasons. Moderate muscle and fat coverage buffers the sensation. Most first-timers describe these as manageable within the first few minutes.
- Inner elbow, inner wrist, ankle: Higher nerve density, thinner skin. More intense than the outer surfaces. Still very doable for most people — just expect more.
- Ribs, sternum, spine: The spots that reliably surprise people. Bony areas with minimal cushioning. Long sessions on ribs are genuinely difficult for most first-timers. These aren’t wrong choices, but starting here means accepting a harder experience.
- Feet, fingers, neck: High friction, high sensitivity, frequent touch-up requirements. Not recommended for a first piece.
Tell your artist it’s your first tattoo. Every experienced artist has a pacing rhythm for first-timers — more check-ins, natural pauses built in, an awareness of where you are emotionally. They’ve sat with thousands of first-timers. They know what helps.
You can ask for a break at any point. Taking a minute to breathe, drink water, or just reset is normal and expected. Pushing through a genuinely difficult moment to avoid seeming weak is the thing that leads to compromised sessions and artists who can’t finish cleanly. If you need a minute, say so.
How Long Will Your Session Take?
Session length depends on design size, complexity, color work, and how your skin takes the ink. Here’s a reasonable framework:
Small pieces (under 3 inches): 1–2 hours including setup, stencil, and the work itself. This is where most first-timers start.
Medium pieces (4–6 inches): 2–4 hours. Comfortable for one session once you know how you handle the experience.
Large or detailed pieces (full arm panel, chest, thigh wrap): 4–6+ hours, often split across multiple appointments. Not a first-tattoo size for most people.
Coloring work — filling solid blocks of color, saturated backgrounds — generally takes longer than linework and is more intense because the artist makes multiple passes over the same skin. If your design has significant color fills, your artist will time that out with you in the consultation.
Eat a real meal one to two hours before your appointment. Low blood sugar amplifies pain perception, and lightheadedness during a tattoo session is common enough that experienced artists keep juice or candy nearby for exactly this reason. Bring a snack and water for anything over two hours.
What Happens in the First 24 Hours
When your session ends, your artist will clean the area, apply a thin protective layer, and cover it — either with regular wrap or a medical-grade adhesive film (“second skin”). Before you leave, they’ll give you aftercare instructions. Follow them exactly.
Cleveland Clinic dermatologists note that in the first hours after a session, the tattooed area will ooze a combination of blood, plasma, and ink — a normal part of the healing response, not a sign anything went wrong. The skin has been punctured thousands of times; this is the body doing what it does.
What you’ll notice:
- Redness and soreness — your skin has been worked. It’s inflamed. This peaks in the first day or two and fades through the first week.
- Some oozing — clear or lightly colored fluid seeping through the covering. Normal.
- Tightness and mild swelling — the skin is reacting. This resolves as the initial inflammation clears.
Once you remove the bandage (follow your artist’s timing — typically a few hours for regular wrap, 3–5 days for second skin), clean the tattoo gently with fragrance-free antibacterial soap, rinse thoroughly, and pat dry with a clean paper towel. Apply a thin, unscented moisturizer. Do this twice daily.
What to avoid absolutely in the first two weeks: direct sun on the tattoo, soaking in water (baths, pools, ocean), picking or scratching, tight clothing rubbing the area. The second week brings peeling and itching as the outer skin layer sheds — this is where most people inadvertently damage their tattoo by pulling scabs. Don’t. Let it peel on its own.
For the complete week-by-week breakdown of healing, the full tattoo aftercare guide covers every phase.
The Thing to Know Before You Walk In
The session itself is manageable. What creates anxiety before a first tattoo is uncertainty — not knowing what the experience will be, and not being sure the design you’ve imagined will land the way you’re picturing it on your actual body.
A proper consultation before any booking isn’t just about discussing the design — it’s about establishing the relationship with your artist, asking questions, and walking in with clarity. That preparation is what separates a session you carry confidently into from one you’re dreading. Knowing how to vet a portfolio and what to ask in a consultation makes that process less guesswork.
And before the consultation: TattThat lets you upload a photo and see the design on your actual skin — at your actual placement, your scale, your proportions. The “what if it looks wrong on me” anxiety that builds in the days before a first appointment is exactly what it closes. Walking into that stencil moment already knowing what you’re getting isn’t just less stressful. It’s a better session.
For everything that happens before you’re sitting in the chair — design decisions, placement, finding the right artist — the first tattoo guide covers the full pre-session checklist.
See It on Your Skin Before You Commit
Upload a photo, pick a design, and see exactly how it'll look — in seconds. 2 free previews, no card required.
Try TattThat Free →