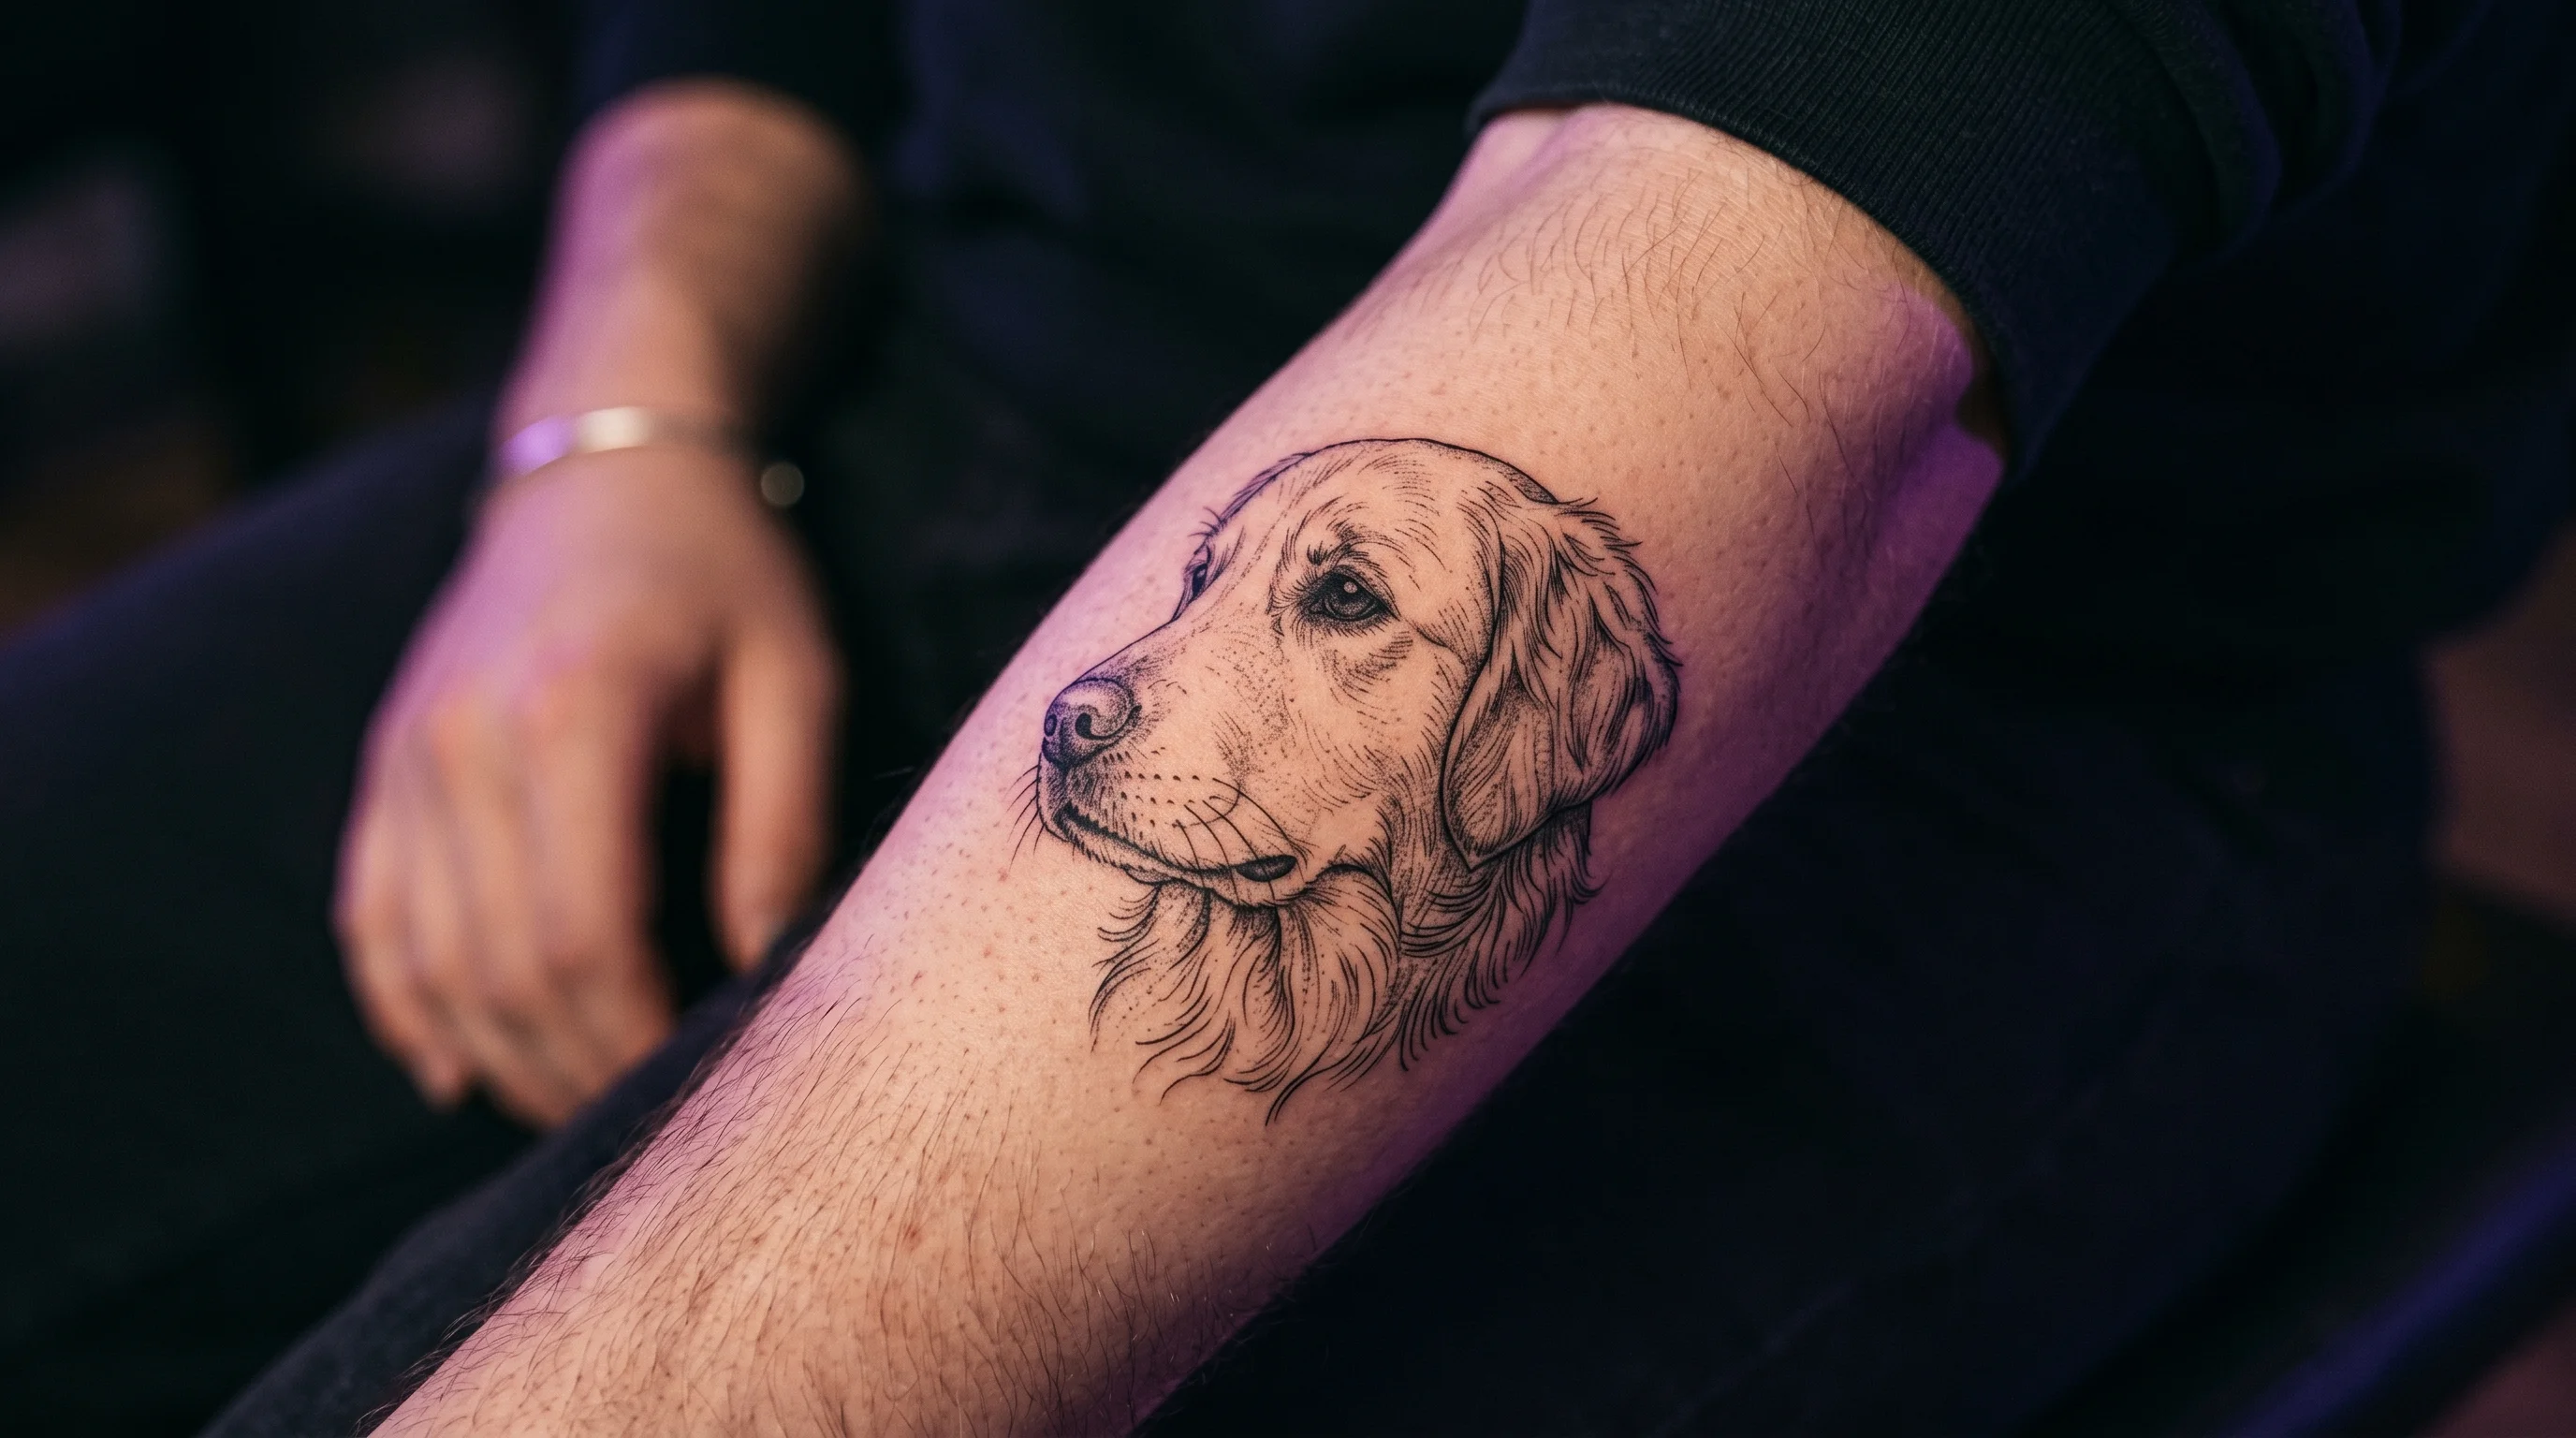
You’re going to be in your sixties one day, and you’re going to roll up your sleeve, and there she’ll be — the dog who slept at the foot of your bed for thirteen years, rendered in linework on your forearm, exactly as she looked the summer you both turned a corner in your lives at the same time. You won’t remember the hesitation. You won’t remember wondering if it was “too much” to get a tattoo of a pet. You’ll just be glad you did it while you still had the photo that made you cry a little when you found it in your camera roll.
That’s the version of this decision worth making from: not “is this silly,” but “will future me be glad I did this.” And the answer, for the people who’ve already done it, is almost always yes — because a pet tattoo isn’t really about the animal. It’s about a specific stretch of your life that they were there for, made permanent in the one place that travels with you.
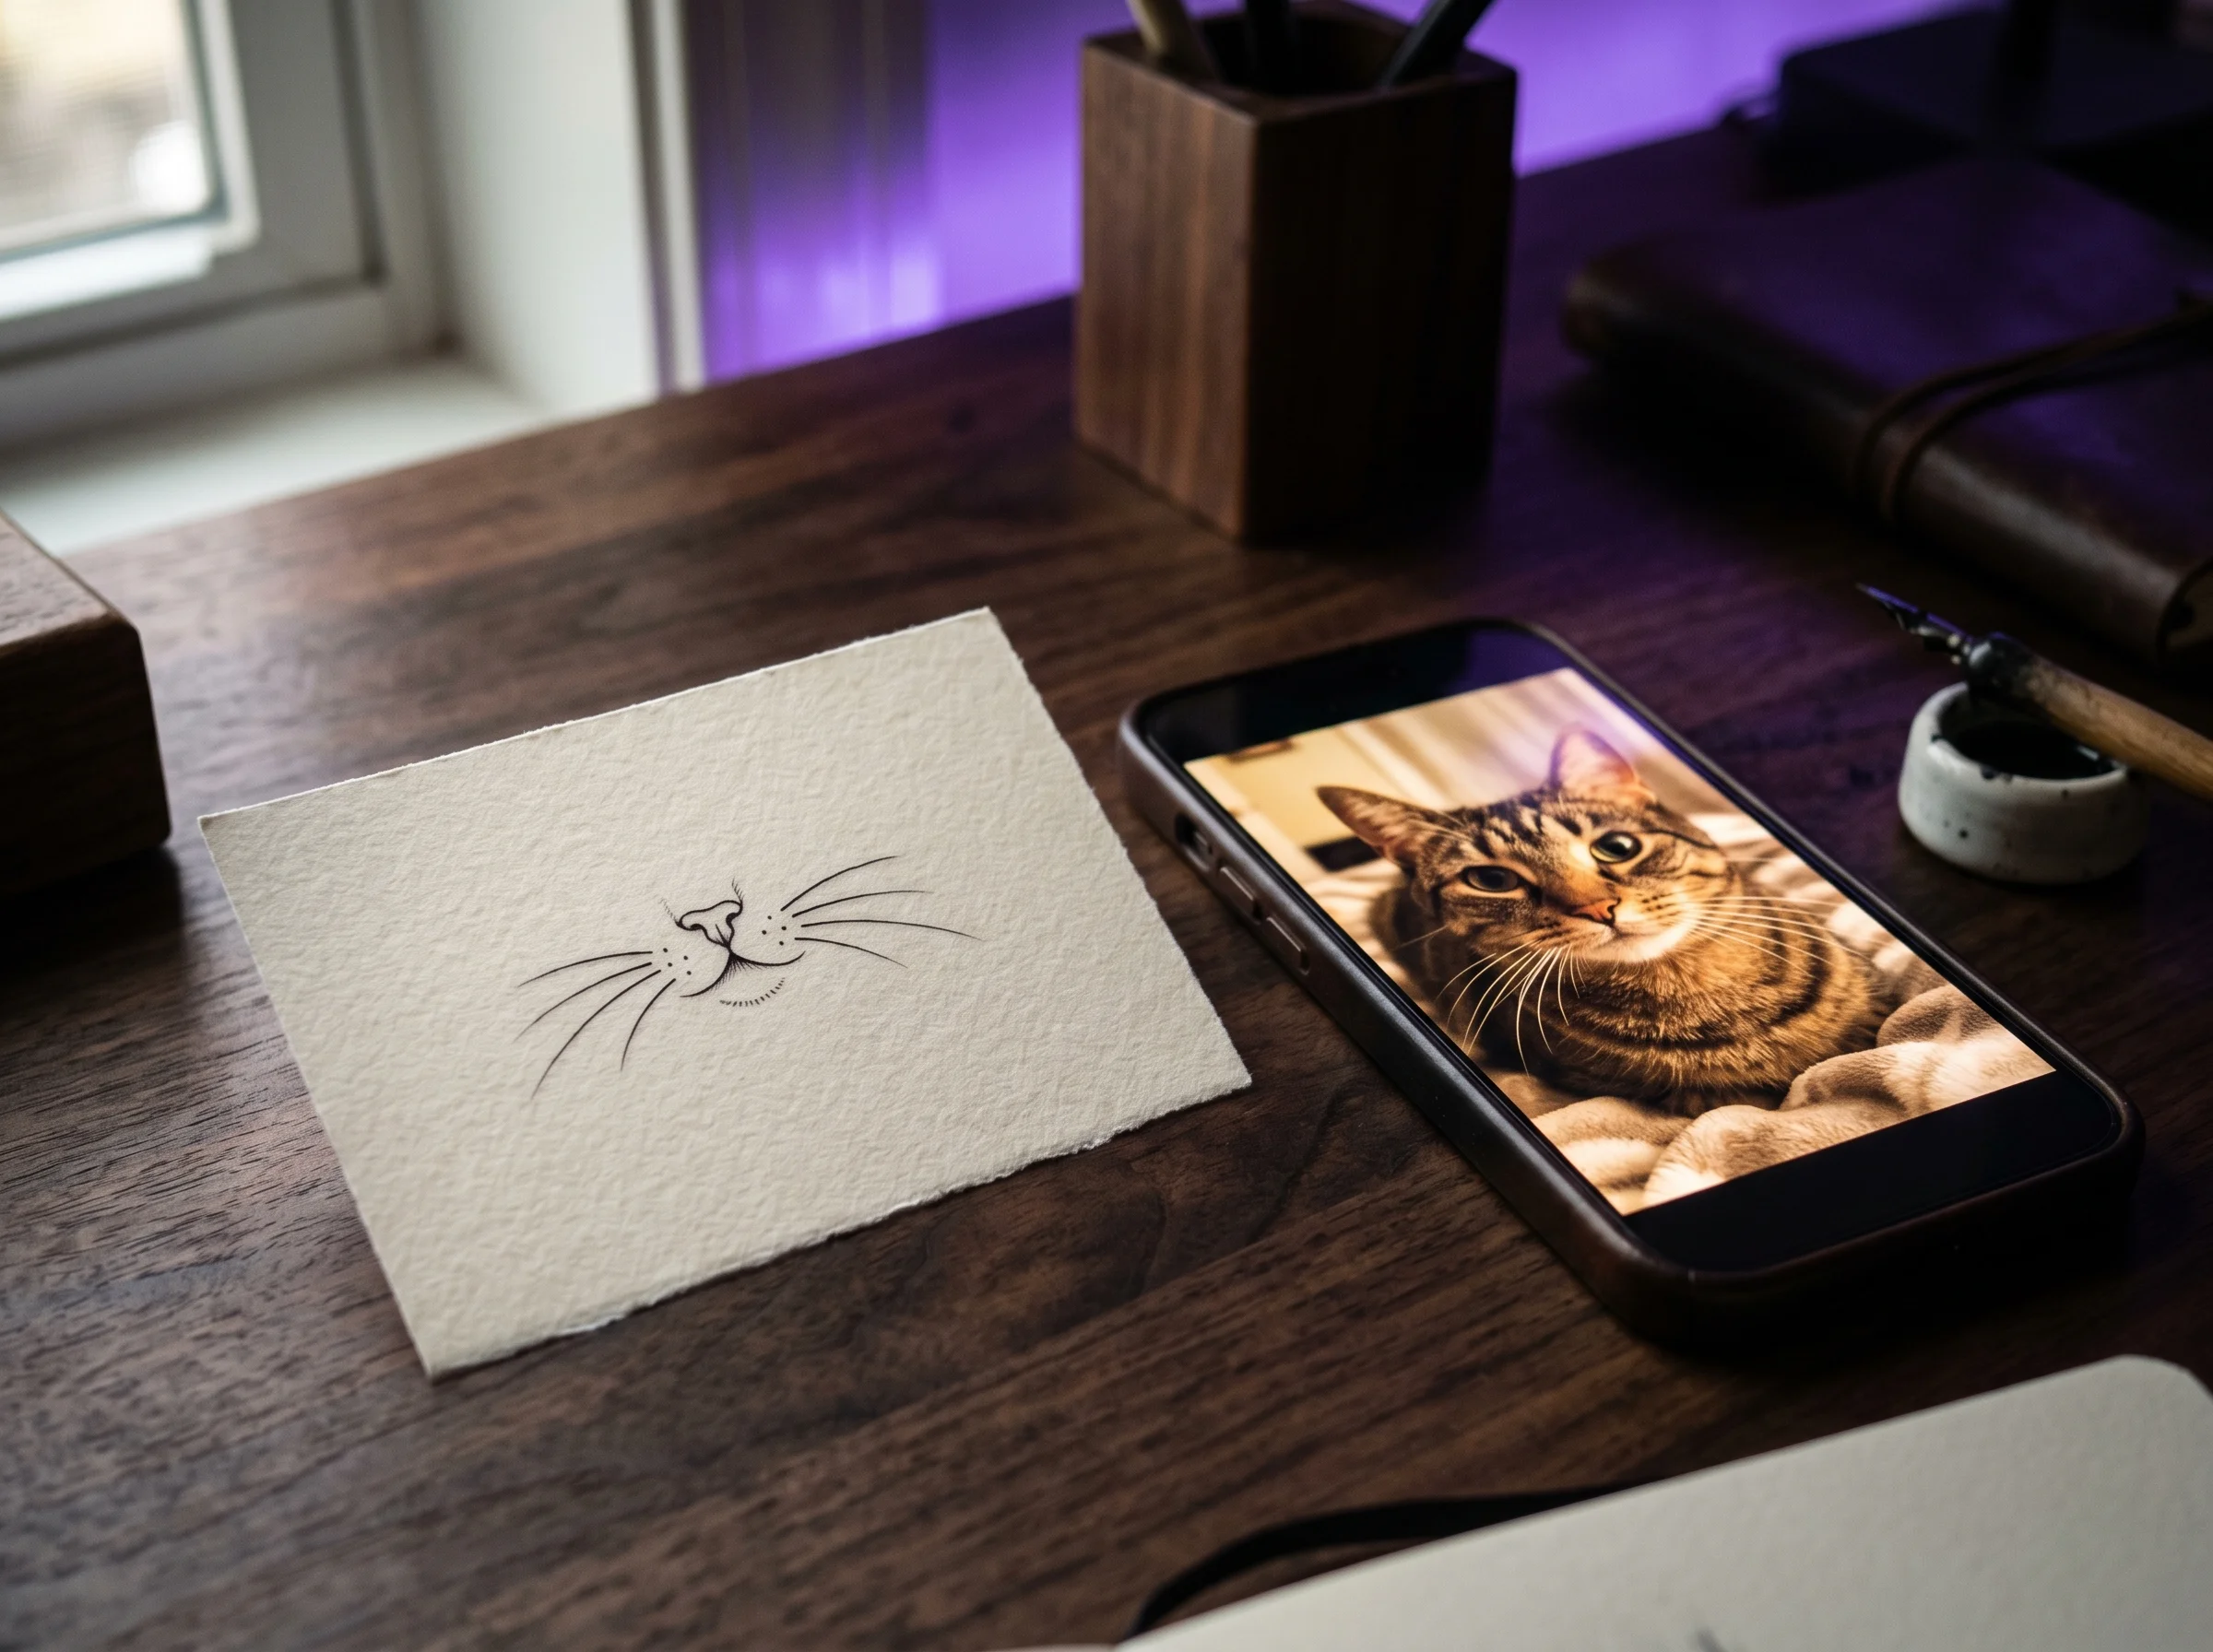
If you’re at the stage where you’ve got The Photo — the one you keep reopening, the one that captures them, not just a dog or a cat but your dog, your cat — here’s how to actually turn it into something an artist can work from, and how to know it’ll look right on you before you book the appointment.
The right reference photo matters more than the right artist
A tattoo artist can only work with what you give them, and a blurry, backlit, or low-contrast photo forces them to guess at details that should be yours to decide. Tattoo studio guidance on pet portraits recommends working from several reference shots taken at different angles rather than a single photo — the more views an artist has of your pet’s actual proportions and markings, the less they have to guess. The best reference shots share a few things in common: even lighting (natural daylight near a window beats flash), a clear line between your pet and the background, and an angle that captures whatever makes them unmistakably them — the tilt of an ear, the asymmetry of a marking, the exact shape of their eyes when they’re looking at you specifically.
Profile and three-quarter angles tend to convert better than straight-on shots, because they preserve depth and structure that a flat front-facing photo loses. If you have a choice between a technically “nicer” photo and one that’s a little rough but unmistakably captures them — choose the second one. Artists can clean up lighting. They can’t manufacture personality that wasn’t in the frame to begin with.
Detail-heavy realism looks incredible at first and ages the hardest
This is the part most people don’t think through until they’re already in the chair: the amount of detail you want preserved is directly at odds with how the tattoo will look in twenty years. Fine line and single-needle realism can capture extraordinary likeness — individual whiskers, the exact gradient of a coat — but research on UV exposure and tattoo fading shows that finer linework and subtle shading are the first things to blur and soften as skin ages and ink migrates under the surface.
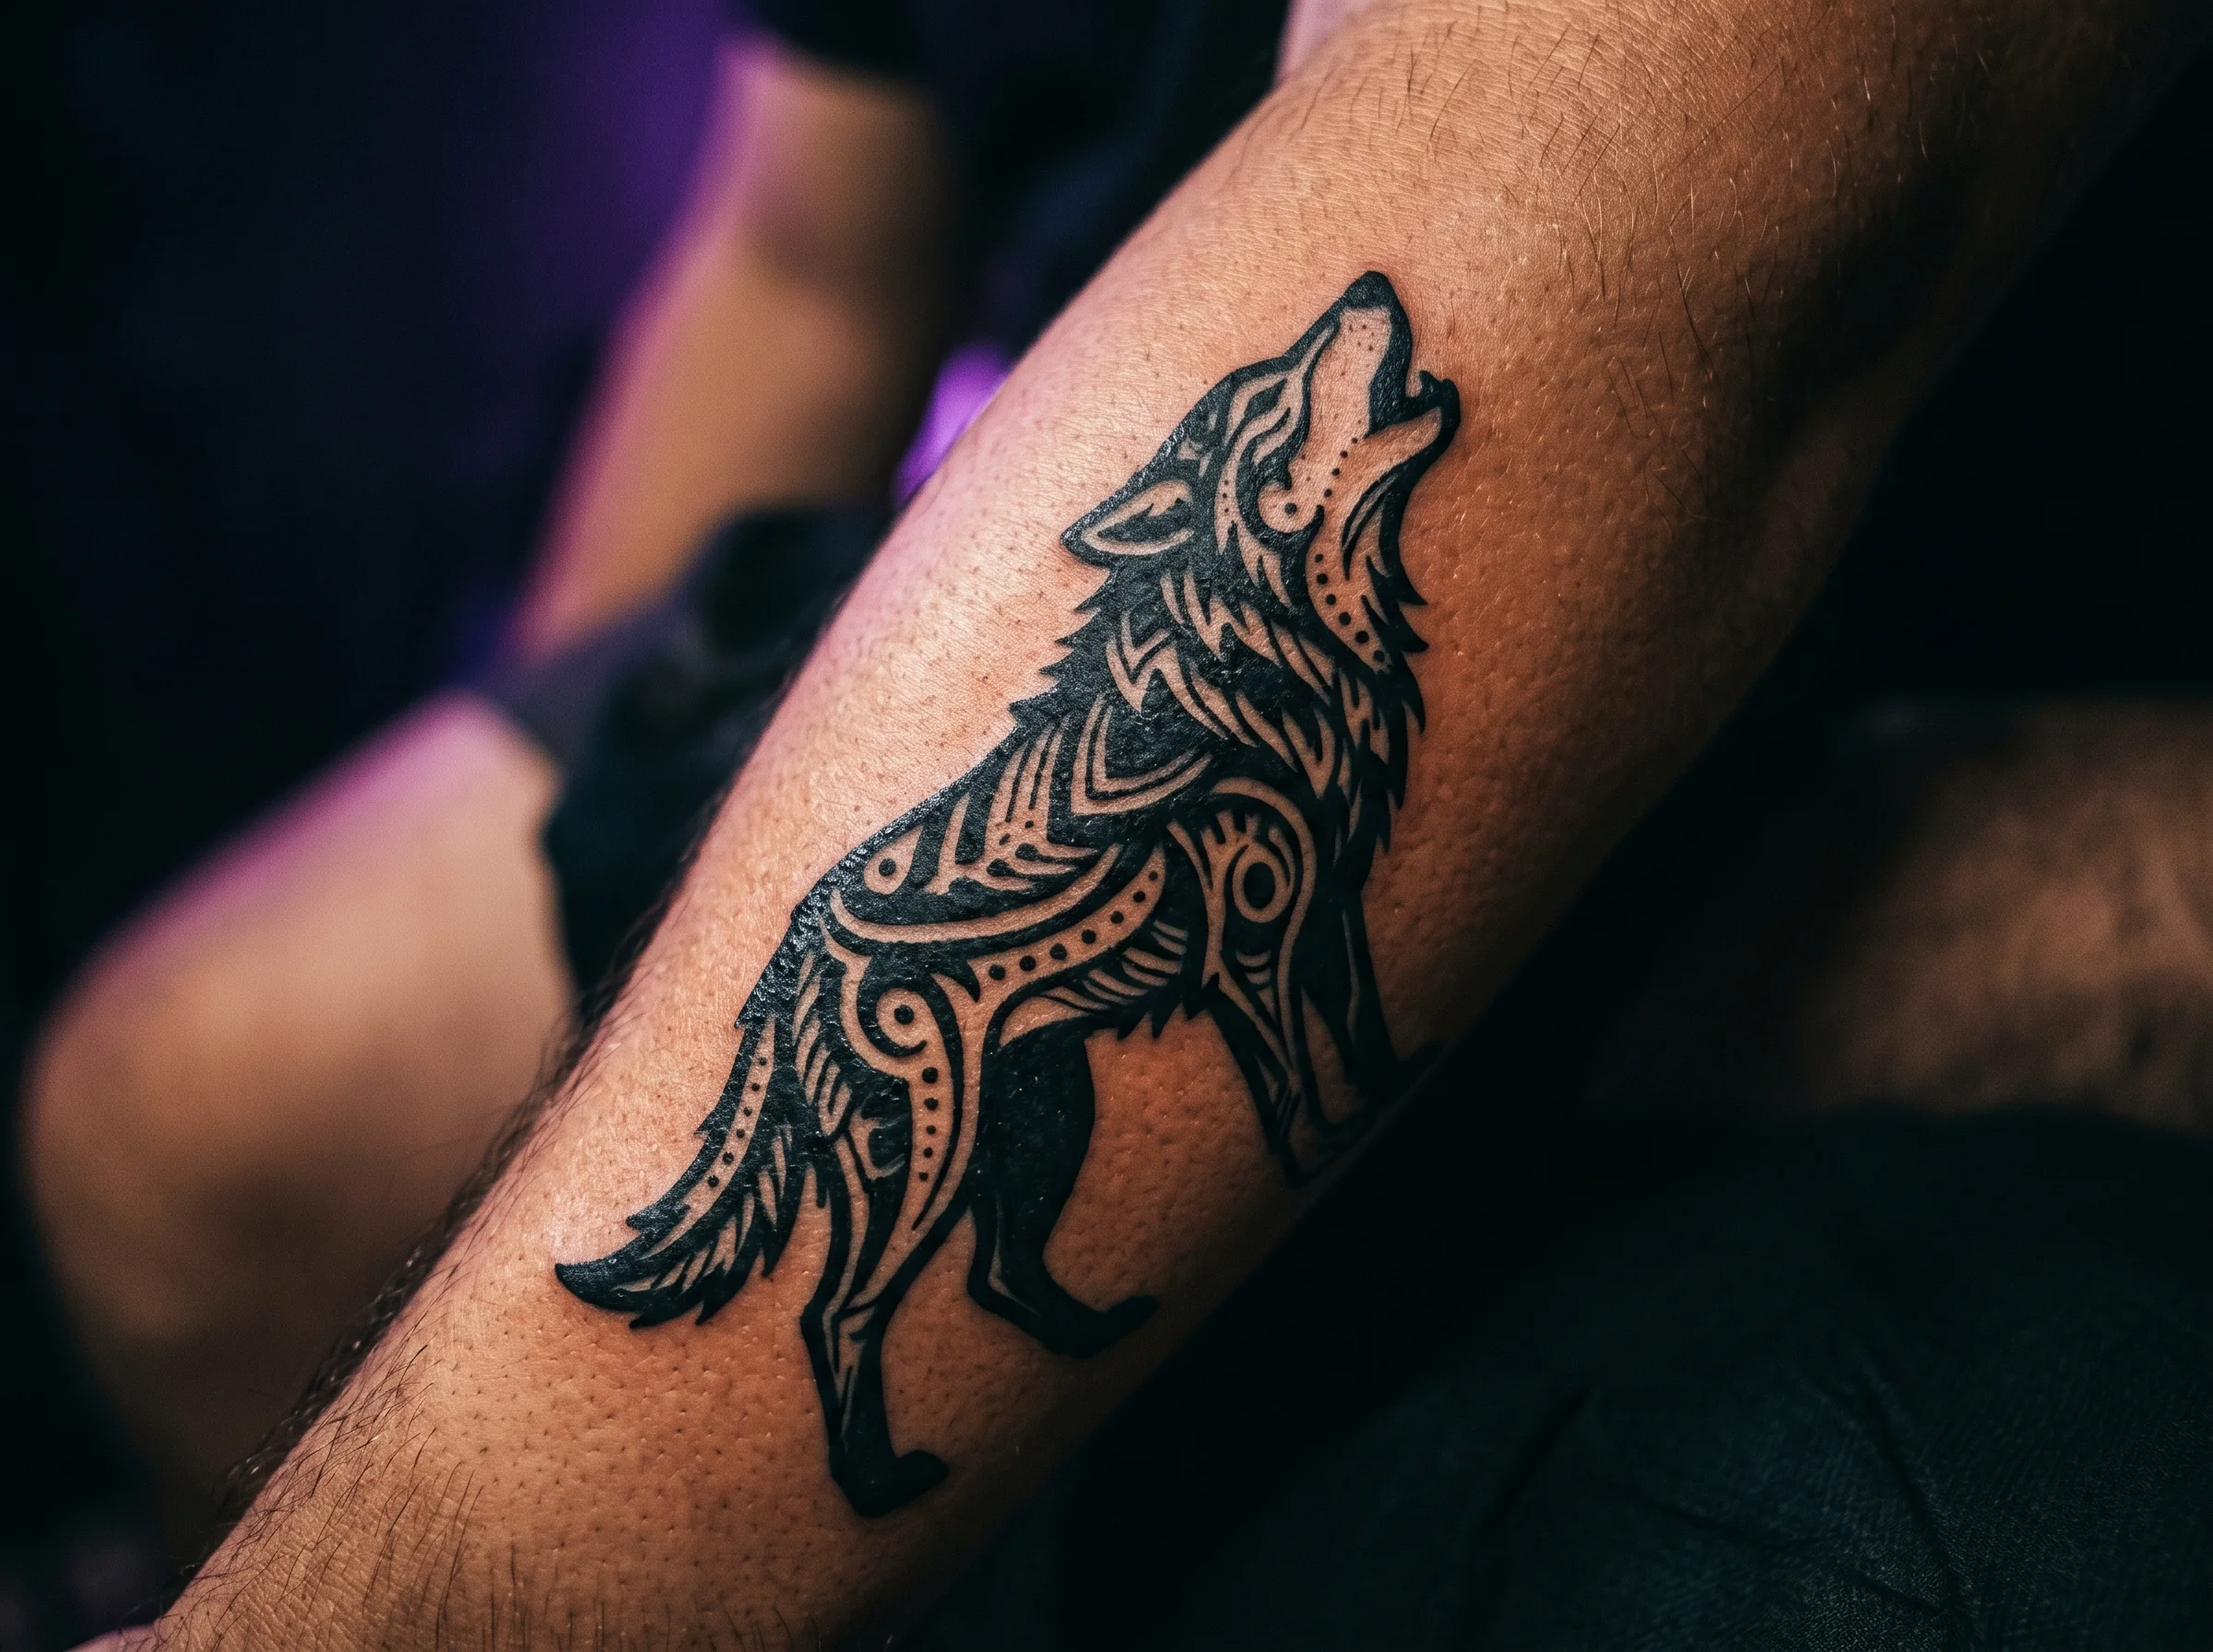
That doesn’t mean detailed portraits are a bad choice — it means the choice should be made knowingly. A simplified linework version, or a blackwork interpretation that leans on bold shapes rather than fine gradients, sacrifices some likeness up front in exchange for a piece that reads clearly decades from now. Neither option is “right.” The point is to decide with that tradeoff in mind, not discover it by surprise at your ten-year mark.
Size and placement decide whether the likeness survives
A pet portrait lives or dies on whether the details that make it recognizable — the eyes, the markings, the particular tilt of the head — actually hold up at the size and on the body part you’re choosing. A design that looks rich and detailed on a 6-inch reference image can collapse into a smudge at 2 inches on a wrist. This is precisely the kind of mismatch that drives a lot of tattoo dissatisfaction: research on the psychology of tattoos and identity notes that pieces tied to meaningful relationships and life chapters tend to carry the deepest emotional weight — which is exactly why getting the execution right matters more here than on a piece that’s purely decorative.
The forearm, upper arm, and calf tend to give detailed portraits the most room to breathe. Smaller, more visible spots like the wrist or behind the ear can work beautifully for simplified versions, but they’re unforgiving of fine detail. Before you settle on either the size or the spot, it’s worth seeing the actual converted design — not a mental approximation of it — sitting on your actual skin.
See the converted design on your skin before you commit to it
This is where most people are still flying blind, and it doesn’t have to be that way anymore. TattThat lets you upload your pet’s photo, convert it into a tattoo-ready design, and then preview that exact design on your own body — drag it, resize it, rotate it until you can see precisely how the likeness holds up at the size and placement you’re considering. You get two free previews with no card required, which is enough to test both a detailed version and a simplified one before you decide which direction to bring to your artist.
That step changes the entire conversation with your artist, too. Instead of describing a feeling — “something like this photo, but, you know, as a tattoo” — you walk in with a tested design, a confirmed size, and a placement you’ve already seen work on your own skin. If you want the fuller walkthrough on getting from photo to design, our guide to turning any photo into a tattoo design covers the conversion process in more depth, and if you’re still weighing where on your body this piece belongs, our tattoo placement guide breaks down how different spots affect how detail reads over time.
Years from now, this won’t be the tattoo you have to explain. It’ll be the one people ask about — and the one that makes you smile every single time you do.
See It on Your Skin Before You Commit
Upload a photo, pick a design, and see exactly how it'll look — in seconds. 2 free previews, no card required.
Try TattThat Free →