You’ve looked up the pain chart. You know the ribcage is brutal, the spine is brutal, and apparently the back of the knee is some kind of medieval punishment. Now you’re wondering: could numbing cream just… solve this?
It’s one of the most Googled questions in the tattoo decision process — right up there with “how much does it cost” and “how long does it take.” And the honest answer is more nuanced than the ads make it sound.
The direct answer: Numbing cream for tattoos does work — it genuinely reduces pain for most people by temporarily blocking nerve signals in the skin. But it doesn’t eliminate pain completely, it works better on some placements than others, and it can affect your tattoo quality if you use the wrong formula or don’t loop in your artist. Here’s everything you actually need to know before you commit to using it.
How Numbing Cream Works (And Why It Has Limits)
The active ingredients in most tattoo numbing creams are local anesthetics: lidocaine (the most common), prilocaine, or benzocaine. These work by temporarily blocking sodium channels in the nerve endings near the skin’s surface. When those channels are blocked, pain signals can’t travel from the tattooed area to your brain. No signal, no pain experience.
That mechanism is real and well-established — it’s the same class of anesthetic your dentist uses, just in topical form. The catch is penetration depth. Topical anesthetics reach the superficial nerve endings in the epidermis and upper dermis. They don’t penetrate to the periosteum — the tissue covering bone — which is the source of the deep, grinding pain that makes bony placements so intense.
This is why numbing cream works well for some placements and doesn’t do much for others. On the outer forearm, upper arm, or calf, most of what you’re feeling during a tattoo comes from surface nerves. A well-applied lidocaine cream can cut that sensation dramatically. On the ribs, spine, shin, or elbow ditch, a significant portion of the pain comes from proximity to bone — and topical anesthetics simply don’t reach that layer. The most painful tattoo spots are usually painful precisely because of bony anatomy, not just skin sensitivity.
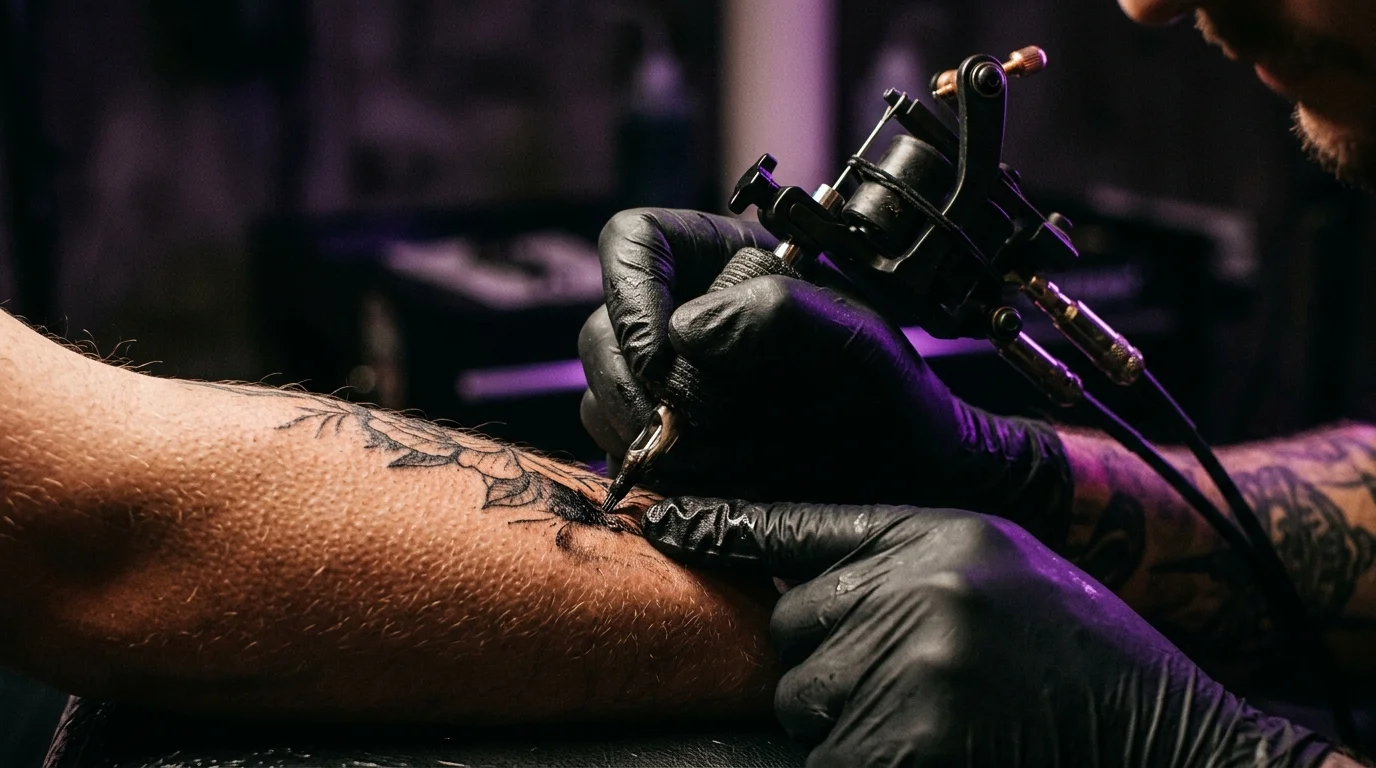
The Artist’s Perspective: Why Some Push Back
The artist conversation matters here more than most people expect. And it’s not just “some artists are old-school about pain.”
There are legitimate technical reasons some tattooers prefer not to work on numbed skin. Lidocaine-based creams can cause mild vasoconstriction (narrowing of blood vessels), which affects how blood and plasma move to the surface during tattooing. Some formulas also change skin texture slightly — making it swell, become more slippery, or lose the natural tension that helps an artist control line weight. A skin surface behaving differently than expected affects how ink sits during the session and how it heals after.
Artists who support numbing cream generally find it improves client comfort enough that the person stops flinching and tensing — which itself helps quality. Artists who avoid it tend to have concerns about changed skin texture and ink absorption. Neither camp is wrong. The outcome depends heavily on the specific cream formula and the artist’s technique.
The practical implication: tell your artist before your appointment, not at the door. Most artists are fine with numbing cream when they know in advance and can advise on brand or application timing. Arriving pre-numbed with a formula they don’t know, applied incorrectly, is the scenario most likely to cause friction.
How to Actually Use It (Without Undermining It)
Most numbing creams fail not because the formula doesn’t work — but because people apply them wrong. Here’s what correct application looks like:
Apply 45–60 minutes before your session. This is the single most common mistake. Applying the cream 15 minutes before you leave the house doesn’t give it enough time to penetrate. Most formulas require at least 45 minutes to reach their full effect, and some work best with 60–90 minutes of contact time.
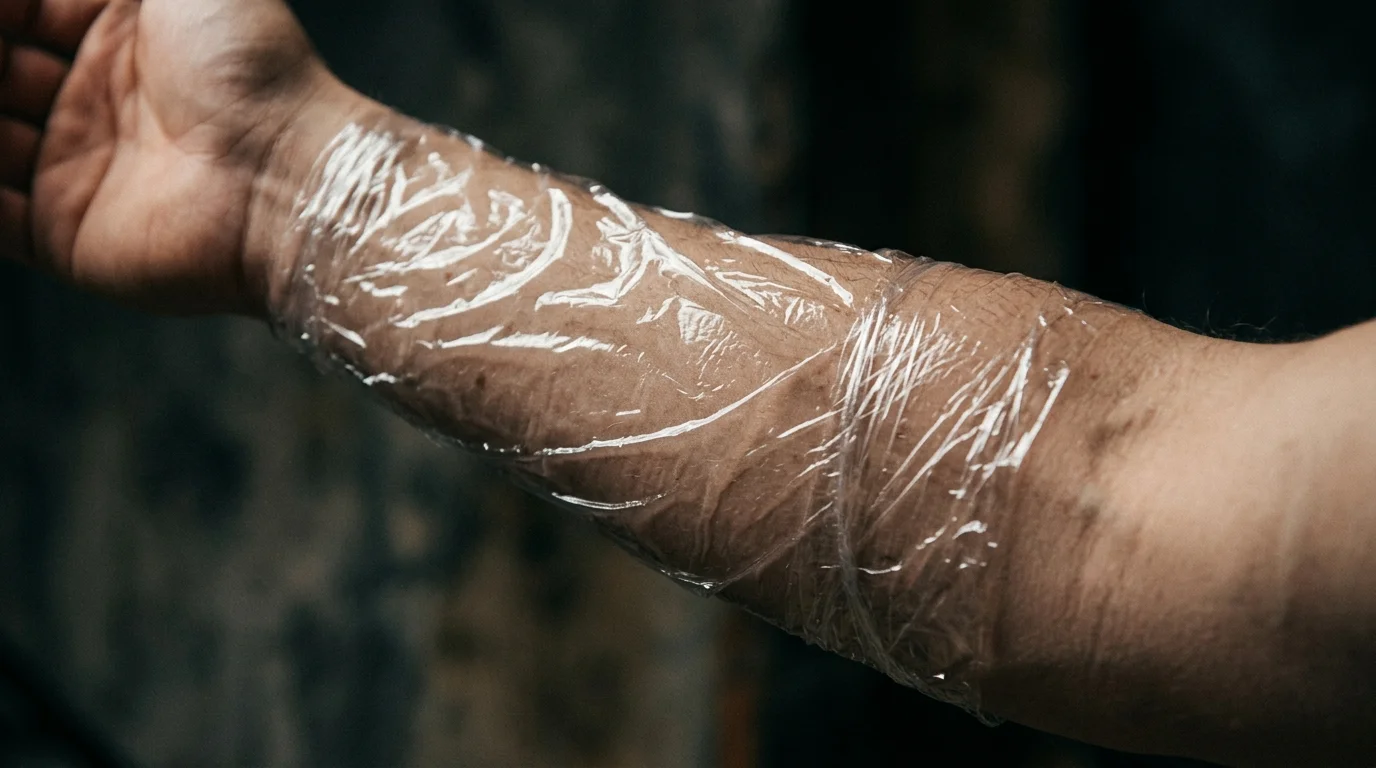
Use occlusion. Wrap the numbed area with plastic wrap (cling film) after applying the cream. This traps moisture and heat, which helps the active ingredients penetrate further into the skin. Without occlusion, much of the cream evaporates before it’s absorbed.
Apply a thick layer, not a thin smear. You’re not moisturizing. The cream should be visible on the skin — a 2–3mm layer, applied generously and evenly across the entire area to be tattooed, plus a small border around it.
Wipe off completely before the session starts. Your artist should see clean skin. Leftover cream on the surface can interfere with stencil adhesion and ink transfer. Wipe thoroughly and let the area dry for a few minutes before the session begins.
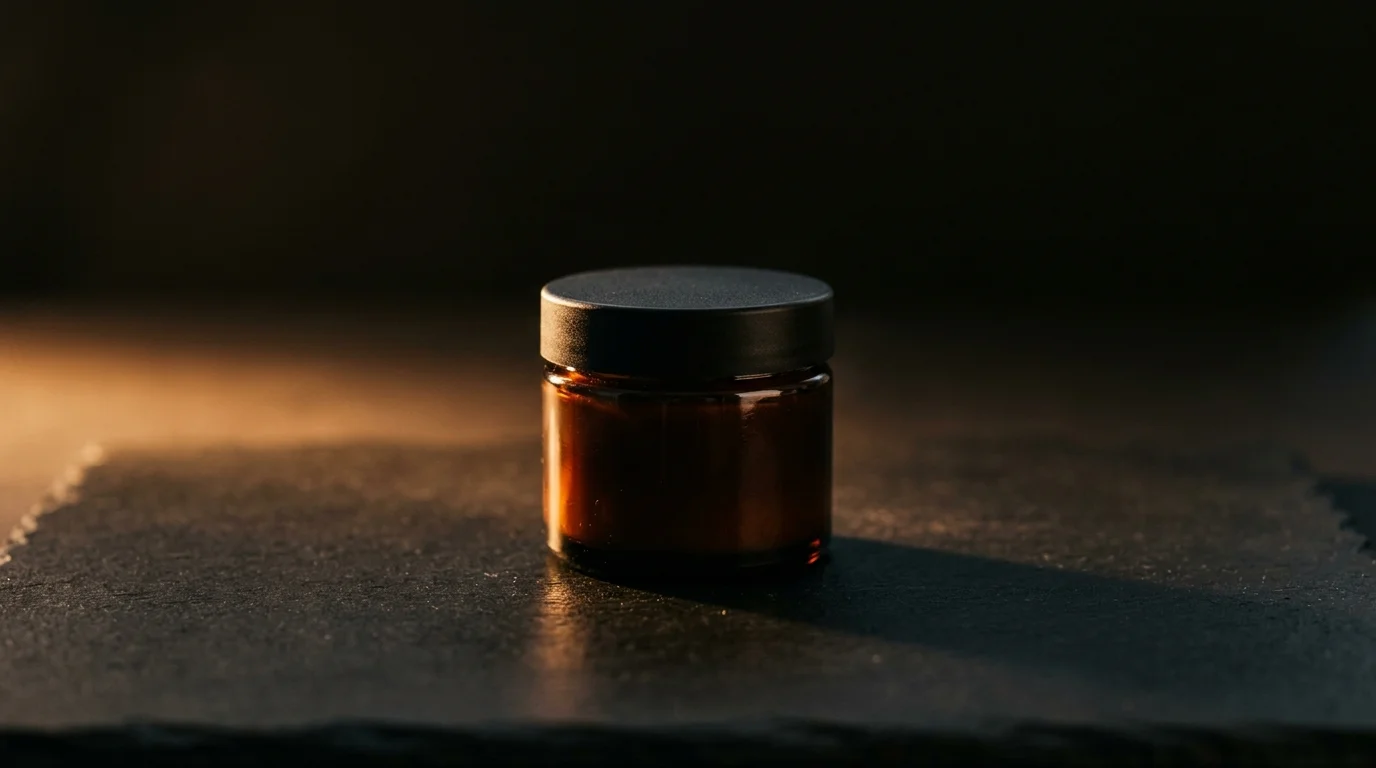
Use a formula made for tattoos. Not all numbing creams are equal. Formulas designed for tattoo use are developed with awareness of ink absorption and skin texture — they’re typically gentler on the tattooing process than general OTC topical anesthetics. If you’re unsure which brand to use, ask your artist before your appointment. Many have a preferred recommendation.
Do a patch test if you have sensitive skin. Lidocaine allergies are uncommon but real. The AAD flags allergic skin reactions as one of the more common unexpected complications from tattoo-adjacent products — itching, swelling, and redness that outlasts normal healing. If you’ve had reactions to topical anesthetics or dental numbing agents before, test the cream on a small patch of skin 24 hours ahead of your session.
What to Realistically Expect
Even applied correctly, numbing cream doesn’t give you a pain-free tattoo. What it does is take the sharp edge off — the initial scratch, the repeated passes over the same area, the building sensitivity as a session goes long. Most people describe the experience on numbed skin as “I can tell something is happening but it’s not really painful.”
The numbing effect typically lasts 1–2 hours once the session starts. For longer sessions — anything over two hours — you’ll likely feel the cream wearing off as the artist works further through the piece. Numbing sprays (which work on already-broken skin) can be reapplied mid-session for some relief, but they’re less effective than the initial cream application.
Research on tattoo pain and body location confirms that pain experience varies significantly by placement, duration, and the individual’s stress response — none of which numbing cream fully addresses. If anxiety is a major factor in your pain response, treating the anxiety (good sleep the night before, eating beforehand, staying hydrated) may do as much for your experience as the cream itself. The first tattoo anxiety guide covers what actually helps when nerves are the core issue.
The Honest Verdict
Numbing cream is a legitimate tool, not a cheat code. It works best on surface-nerve placements, with the right formula, applied far enough in advance, and with your artist in the loop. It won’t save you from rib pain or shin agony. It won’t replace the calming effect of good session preparation.
What it can do is make a long session tolerable when it would otherwise push into genuinely hard territory — or help a first-timer manage the fear of the unknown enough to sit comfortably and let the artist do good work. That’s worth something.
The pain question is real. But most first-timers find that the design anxiety — will this look right, is this the right placement, what if I regret this — is actually more consuming than the pain itself. TattThat is built for that specific fear: upload a photo, place your design on your actual body, and see exactly how it’ll look before you ever sit in the chair. If you’re confident in what you’re getting, the pain question becomes a lot smaller.
Managing pain is one part of the first-tattoo preparation process. The first tattoo guide covers the full picture — design, placement, artist selection, and what to expect on the day.
See It on Your Skin Before You Commit
Upload a photo, pick a design, and see exactly how it'll look — in seconds. 2 free previews, no card required.
Try TattThat Free →